How To Pump Up Your Bike Tires
Inflate Your Tires Before Every Ride For More Fun
The easiest way to keep your bicycle running well is checking tire pressure before every ride. Properly inflated bike tires ride great, last longer and resist flats. Plus, keeping the tires pumped prevents wheel damage should you hit a rock or pothole while riding. Bent wheels hinder braking and cost a pretty penny to repair.

By: Matt Donovan,
3rd generation Owner and General Manager of Dedham Bike
Last updated: 1/31/24
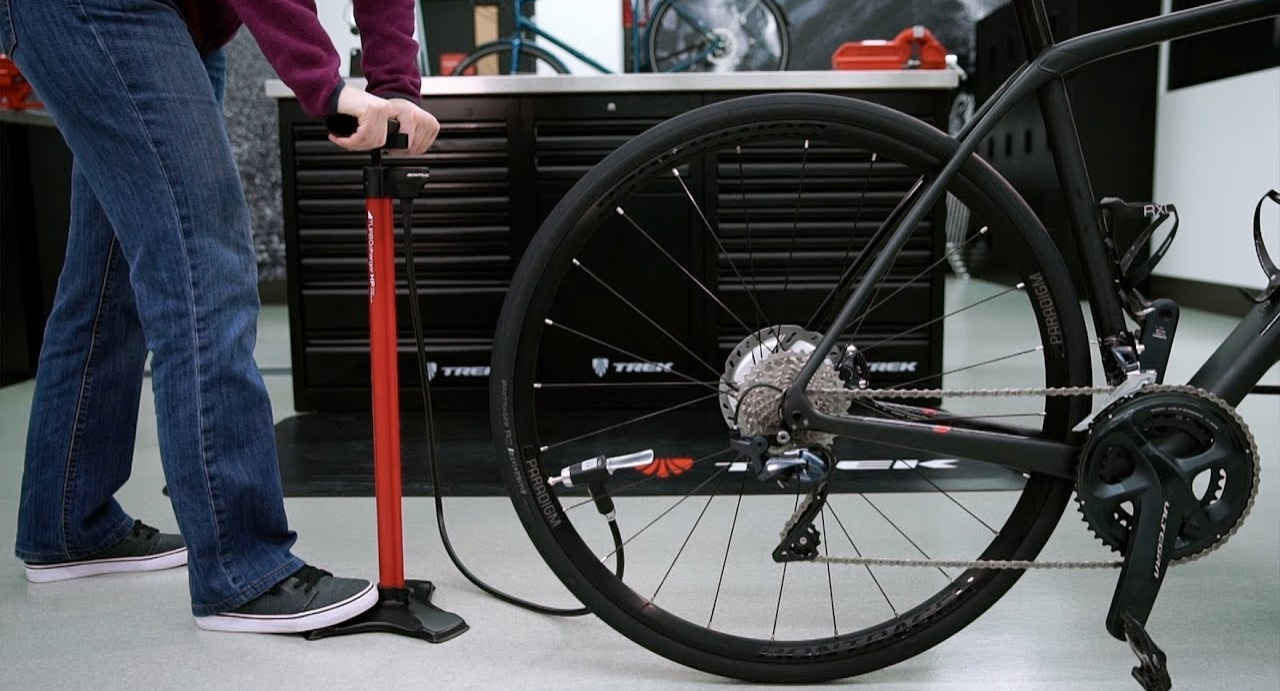
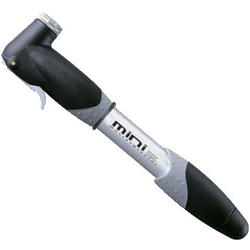
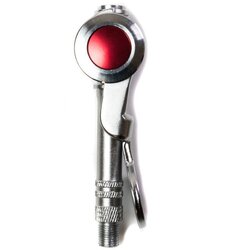
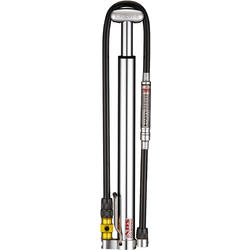
Fortunately, checking tire inflation is simple once you have the only tool required: a bicycle tire pump (don't use your local gas station pressure hose because it can overinflate and damage tires). Bike shops sell quality pumps (about $50 to $300) that are easy to use and safe. You might also have a battery-powered inflator for your car that will work if it reaches sufficient pressures. It's best if your bike pump fits both bicycle valves (Schrader and Presta; more on this below) and sports a built-in gauge, which makes it easy to get the pressure right.
What PSI should my bike tires be?
Maintaining the proper tire pressure is essential for any cyclist. It can affect the bike's handling, speed, and overall performance. One of the most common questions that cyclists ask is, "What PSI should my bike tires be?" The answer depends on several factors, including the type of bike, the rider's weight, and the riding conditions.
For road bikes, the recommended tire pressure is typically between 80 and 100 PSI. However, heavier riders may need to increase the pressure by 5-10 PSI, while lighter riders may need to decrease it by the same amount. Mountain bikes, on the other hand, require lower tire pressure, usually between 30 and 50 PSI, to provide better traction and shock absorption on rough terrain. However, tubeless setups will allow you to run lower pressures into the low 20psi to upper teens range for lighter riders. Gravel bikes fall somewhere in between, with recommended tire pressure ranging from 25 to 40 PSI.
It's essential to check tire pressure regularly, as it can change due to temperature fluctuations, riding conditions, and tire wear. Riding with incorrect tire pressure can lead to a variety of issues, such as decreased speed, poor handling, and increased risk of punctures. By maintaining the proper tire pressure, cyclists can enjoy a smoother, safer, and more comfortable ride.
Thanks to Pearl Izumi for this great video!
Presta Valve Or Schrader Valve?
What type of bike tire valve do you have?
There are two main options, presta (thin) or schrader (thick like a car tire).
Both of these valves operate differently and will need a pump or Co2 inflator that will work smoothly with your particular setup.
There are pump options available that allow you to use either style valve by using an auto adjusting pump head.
How to find my bike tire pressure?
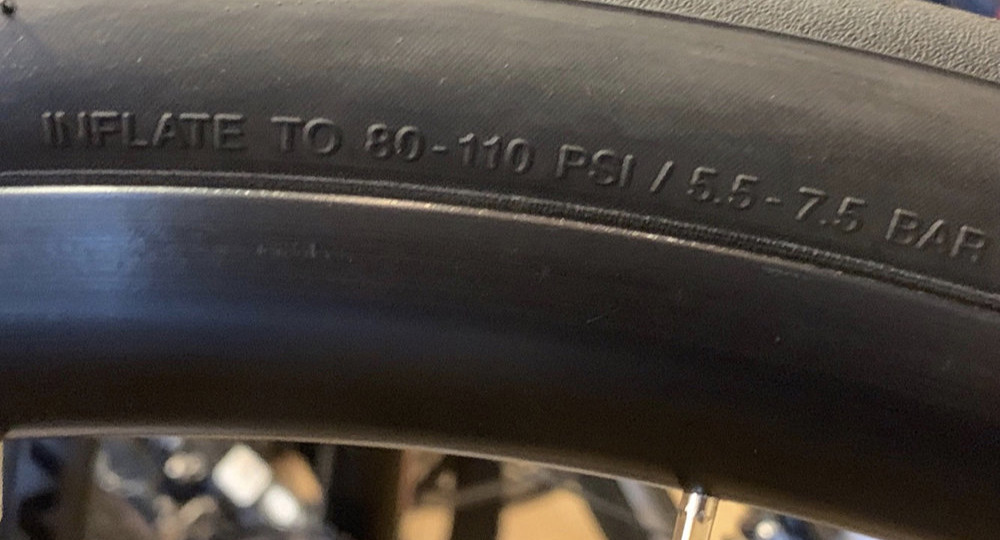
Well, the fastest and easiest way to find your bike's proper tire pressure is to look at the sidewall of your tire.
Flip the bike on it's side and take the wheel in your hand and spin the tire very slowly while looking at the side of the tire.
Along the way you will see an area that shows the manufacturer's proper tire inflation.
How do you know how much air to put in your bike tires? On most tires, the recommended pressure is printed on the sidewall. It's often written as a range, such as "90 to 115 psi (pounds per square inch)," which appears on some high-pressure road tires. You can experiment within this range to find what feels best for you. Less pressure offers a more comfortable ride and more air means less rolling resistance. Many cyclists opt for the best of both worlds and run 100 to 105 psi in their skinny road tires.
If you're inflating 26-inch tires (common on comfort and off-road bikes), you may find that the pressure range is wider, say "35 to 60 psi." This is because these tires can be used on and off road. For the former, 60 psi is about right because it rolls optimally on pavement. Off road however, 35 to 40 psi is much more appropriate because it absorbs the bumps, rocks and roots better and offers greater traction for control and handling.
Pumping up your bike's tires
First you'll want to determine what types of valves your bike is using, Schrader (car style) or presta (skinny with a funny tip).
If you have Presta valves (they have a knurled tip and are also called "French" valves), you'll need to open the valve by unscrewing and depressing the tip just long enough to let a tiny amount of air out (remember to close it after pumping, too).
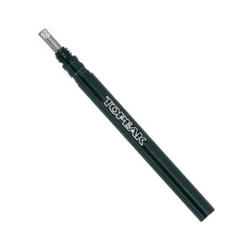
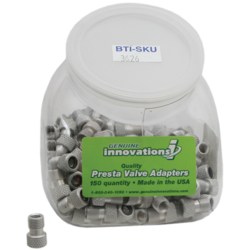
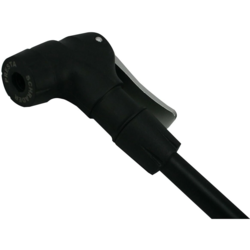
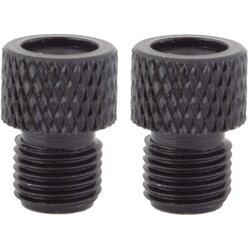
Also, if you have presta valves you may need a presta valve adaptor that will allow your pump to work to work with presta valves. Some pumps come with what's called a "smart head" that works with car tire style valves (schrader valves) and presta valves.
With Schrader valves no adaptor should be needed as most pumps come already setup for these valves.
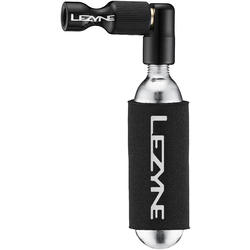
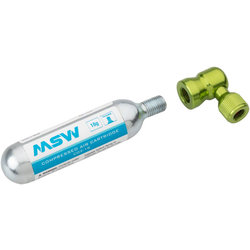
Then, attach the pump or Co2 charger to your valve and start pumping, stopping when the gauge shows that you've reached the recommended tire pressure.
Repeat with the other tire.
And you thought bicycling only exercised your legs!